
Tom Allen, Senior Technician at Kleen-Rite for over 35 years, has learned just bout everything car wash related. Here, Tom offers his insight and know-how to explain the process of installing a reusable hose fitting. Reusable hose fitting are great to have on hand to repair blown hoses or make your own hose assemblies. To patch a blown hose, simply cut out the bad part of the hose and put one fitting on each end of hose pieces and use a coupling, swivel, or hose adapter to reconnect hose segments to make the hose complete.
How to Install a Reusable Hose Fitting

Tools You Will Need:
- Appropriately sized wrenches for your hose size (or a vice)
- Any lubricant (WD-40, CRC, oil, etc.)
- Reusable hose fittings
- Hose
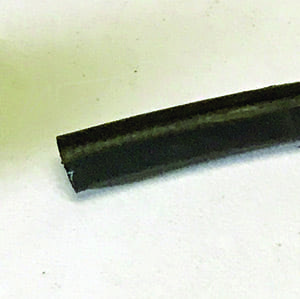
Step 1:
Ensure the ends of your hose have clean, straight cuts.
Step 2:
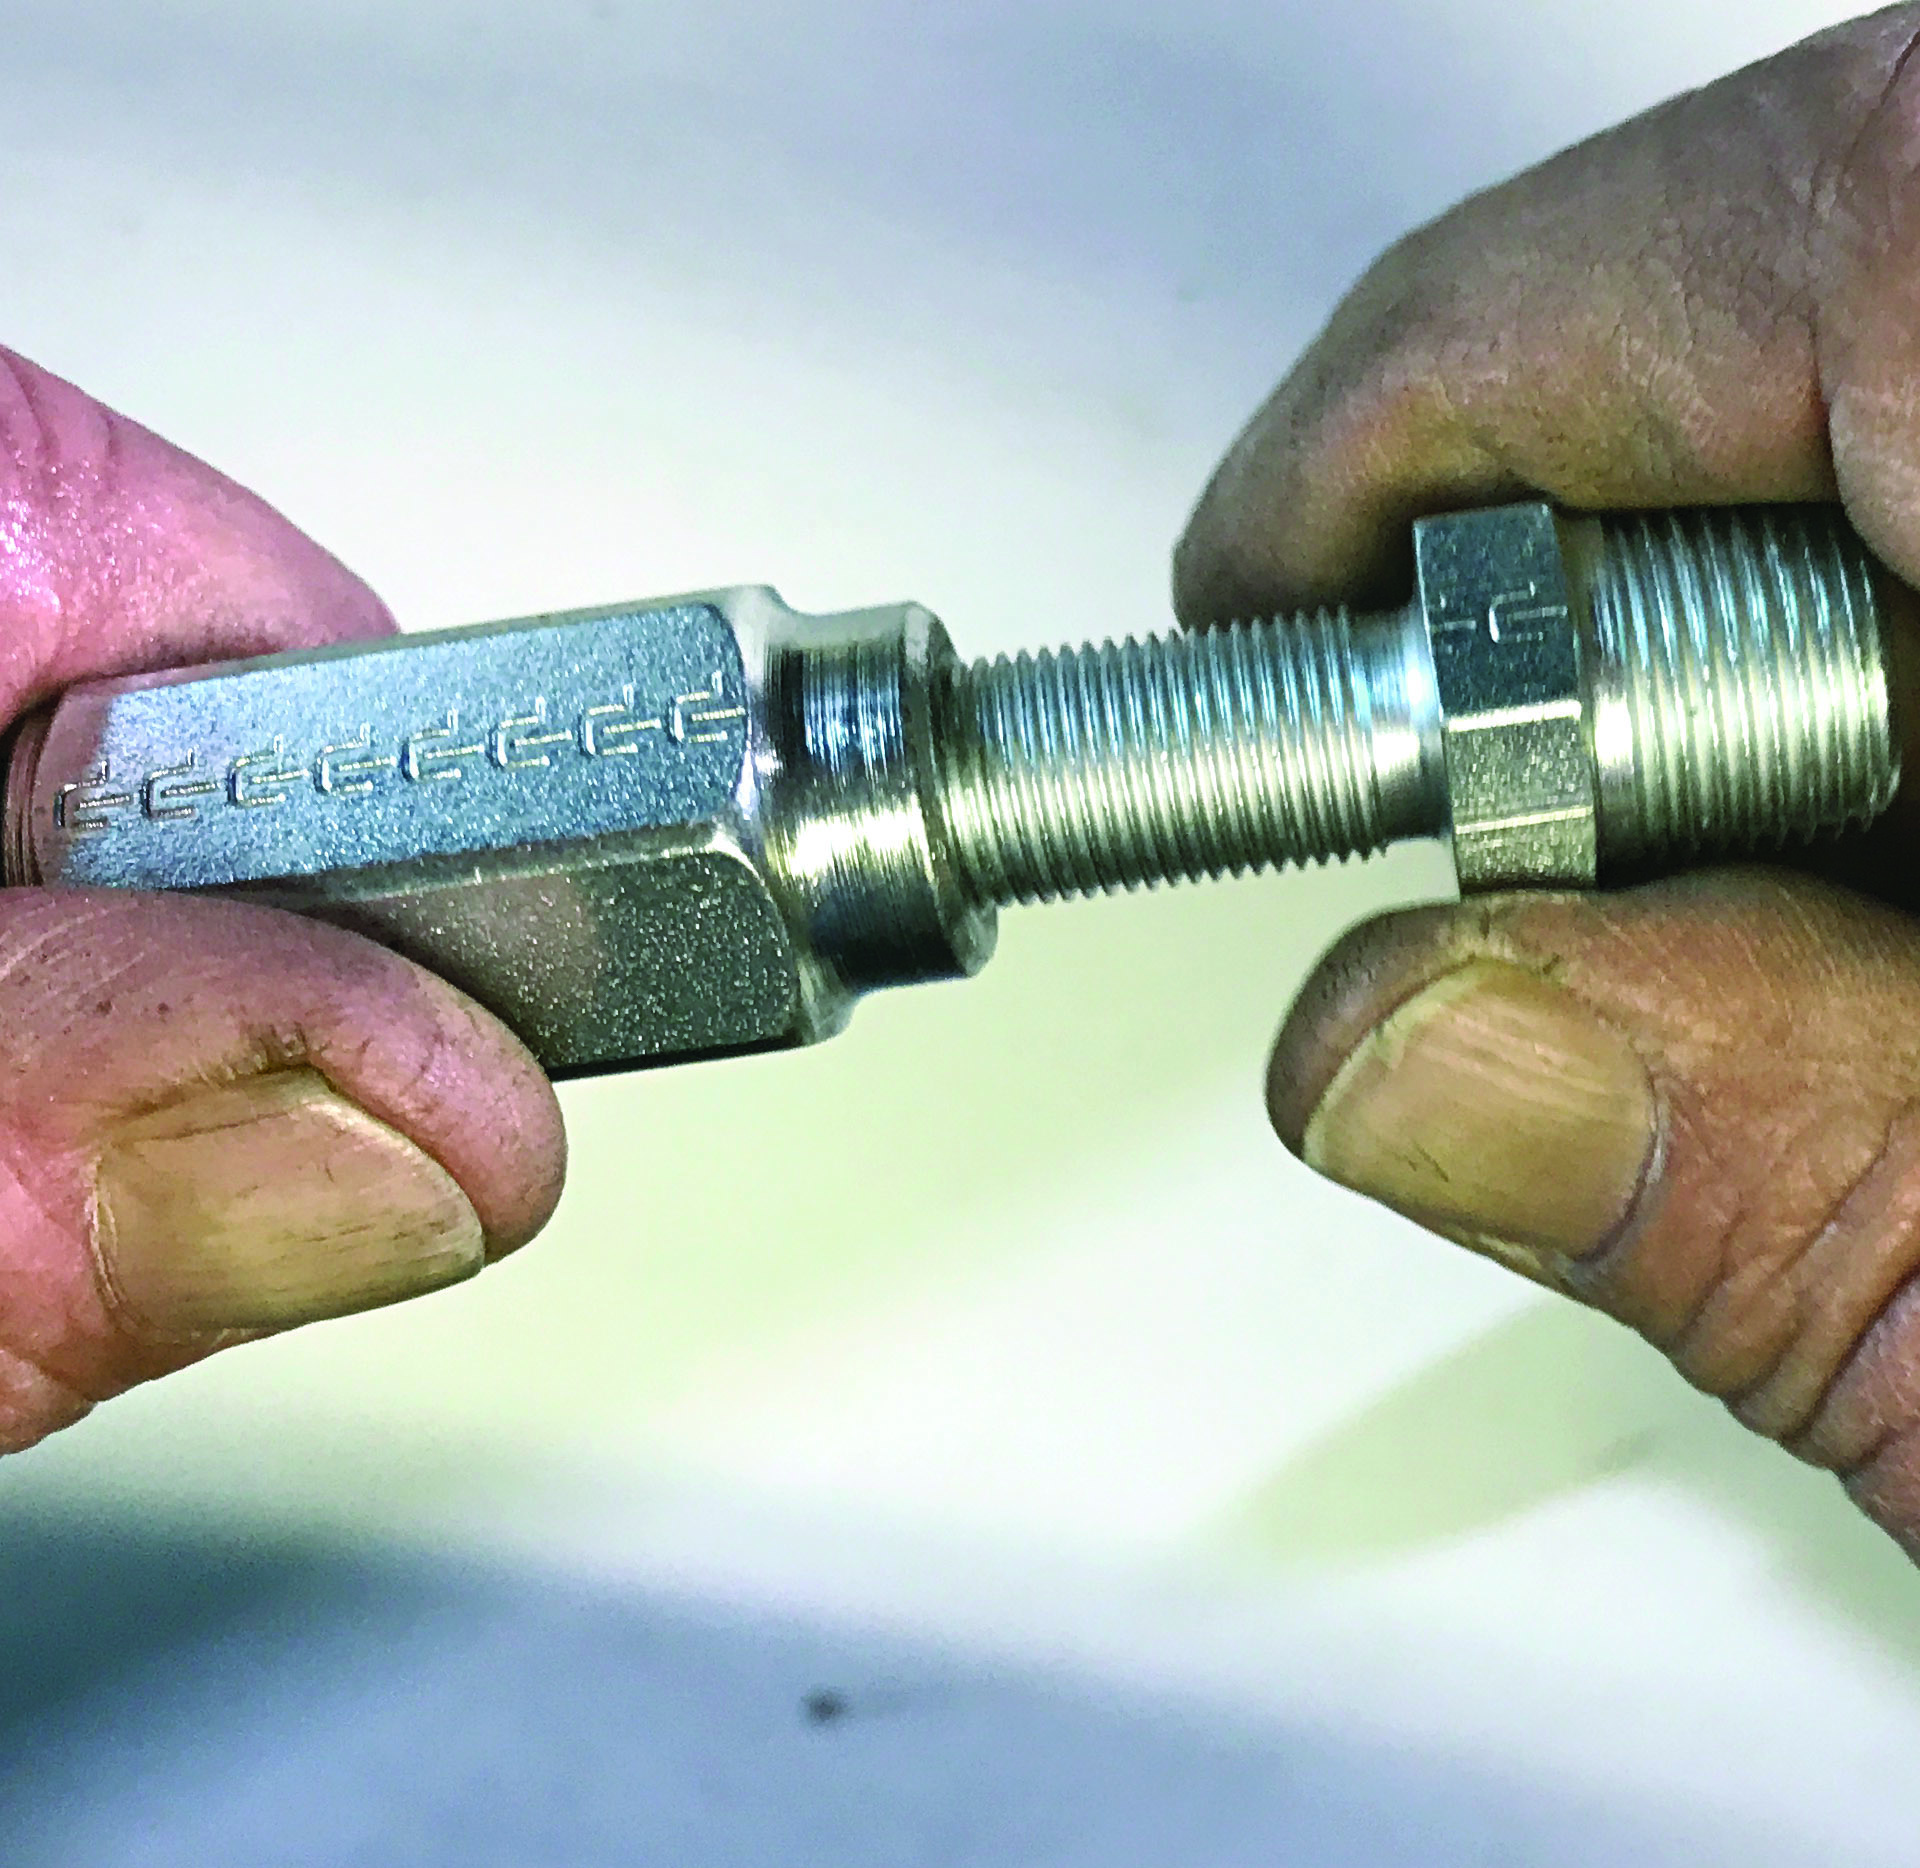
The fitting will come screwed together. To begin, unscrew and take the two pieces apart.
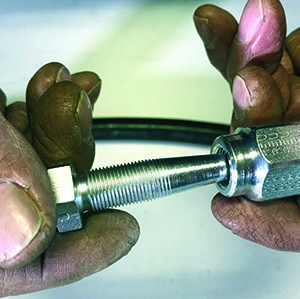
Step 3:
Turn the socket piece onto the hose end. Start by hand and finish with your wrench. Then keep turning until the hose butts against the inner shelf of the socket. Note: The socket is a left-handed thread, which means you’ll need to turn to the left to tighten.

Step 4:
Next, spray some lubricant inside the socket to lubricate the inside of the hose and threads on the socket to make it easier to thread on.
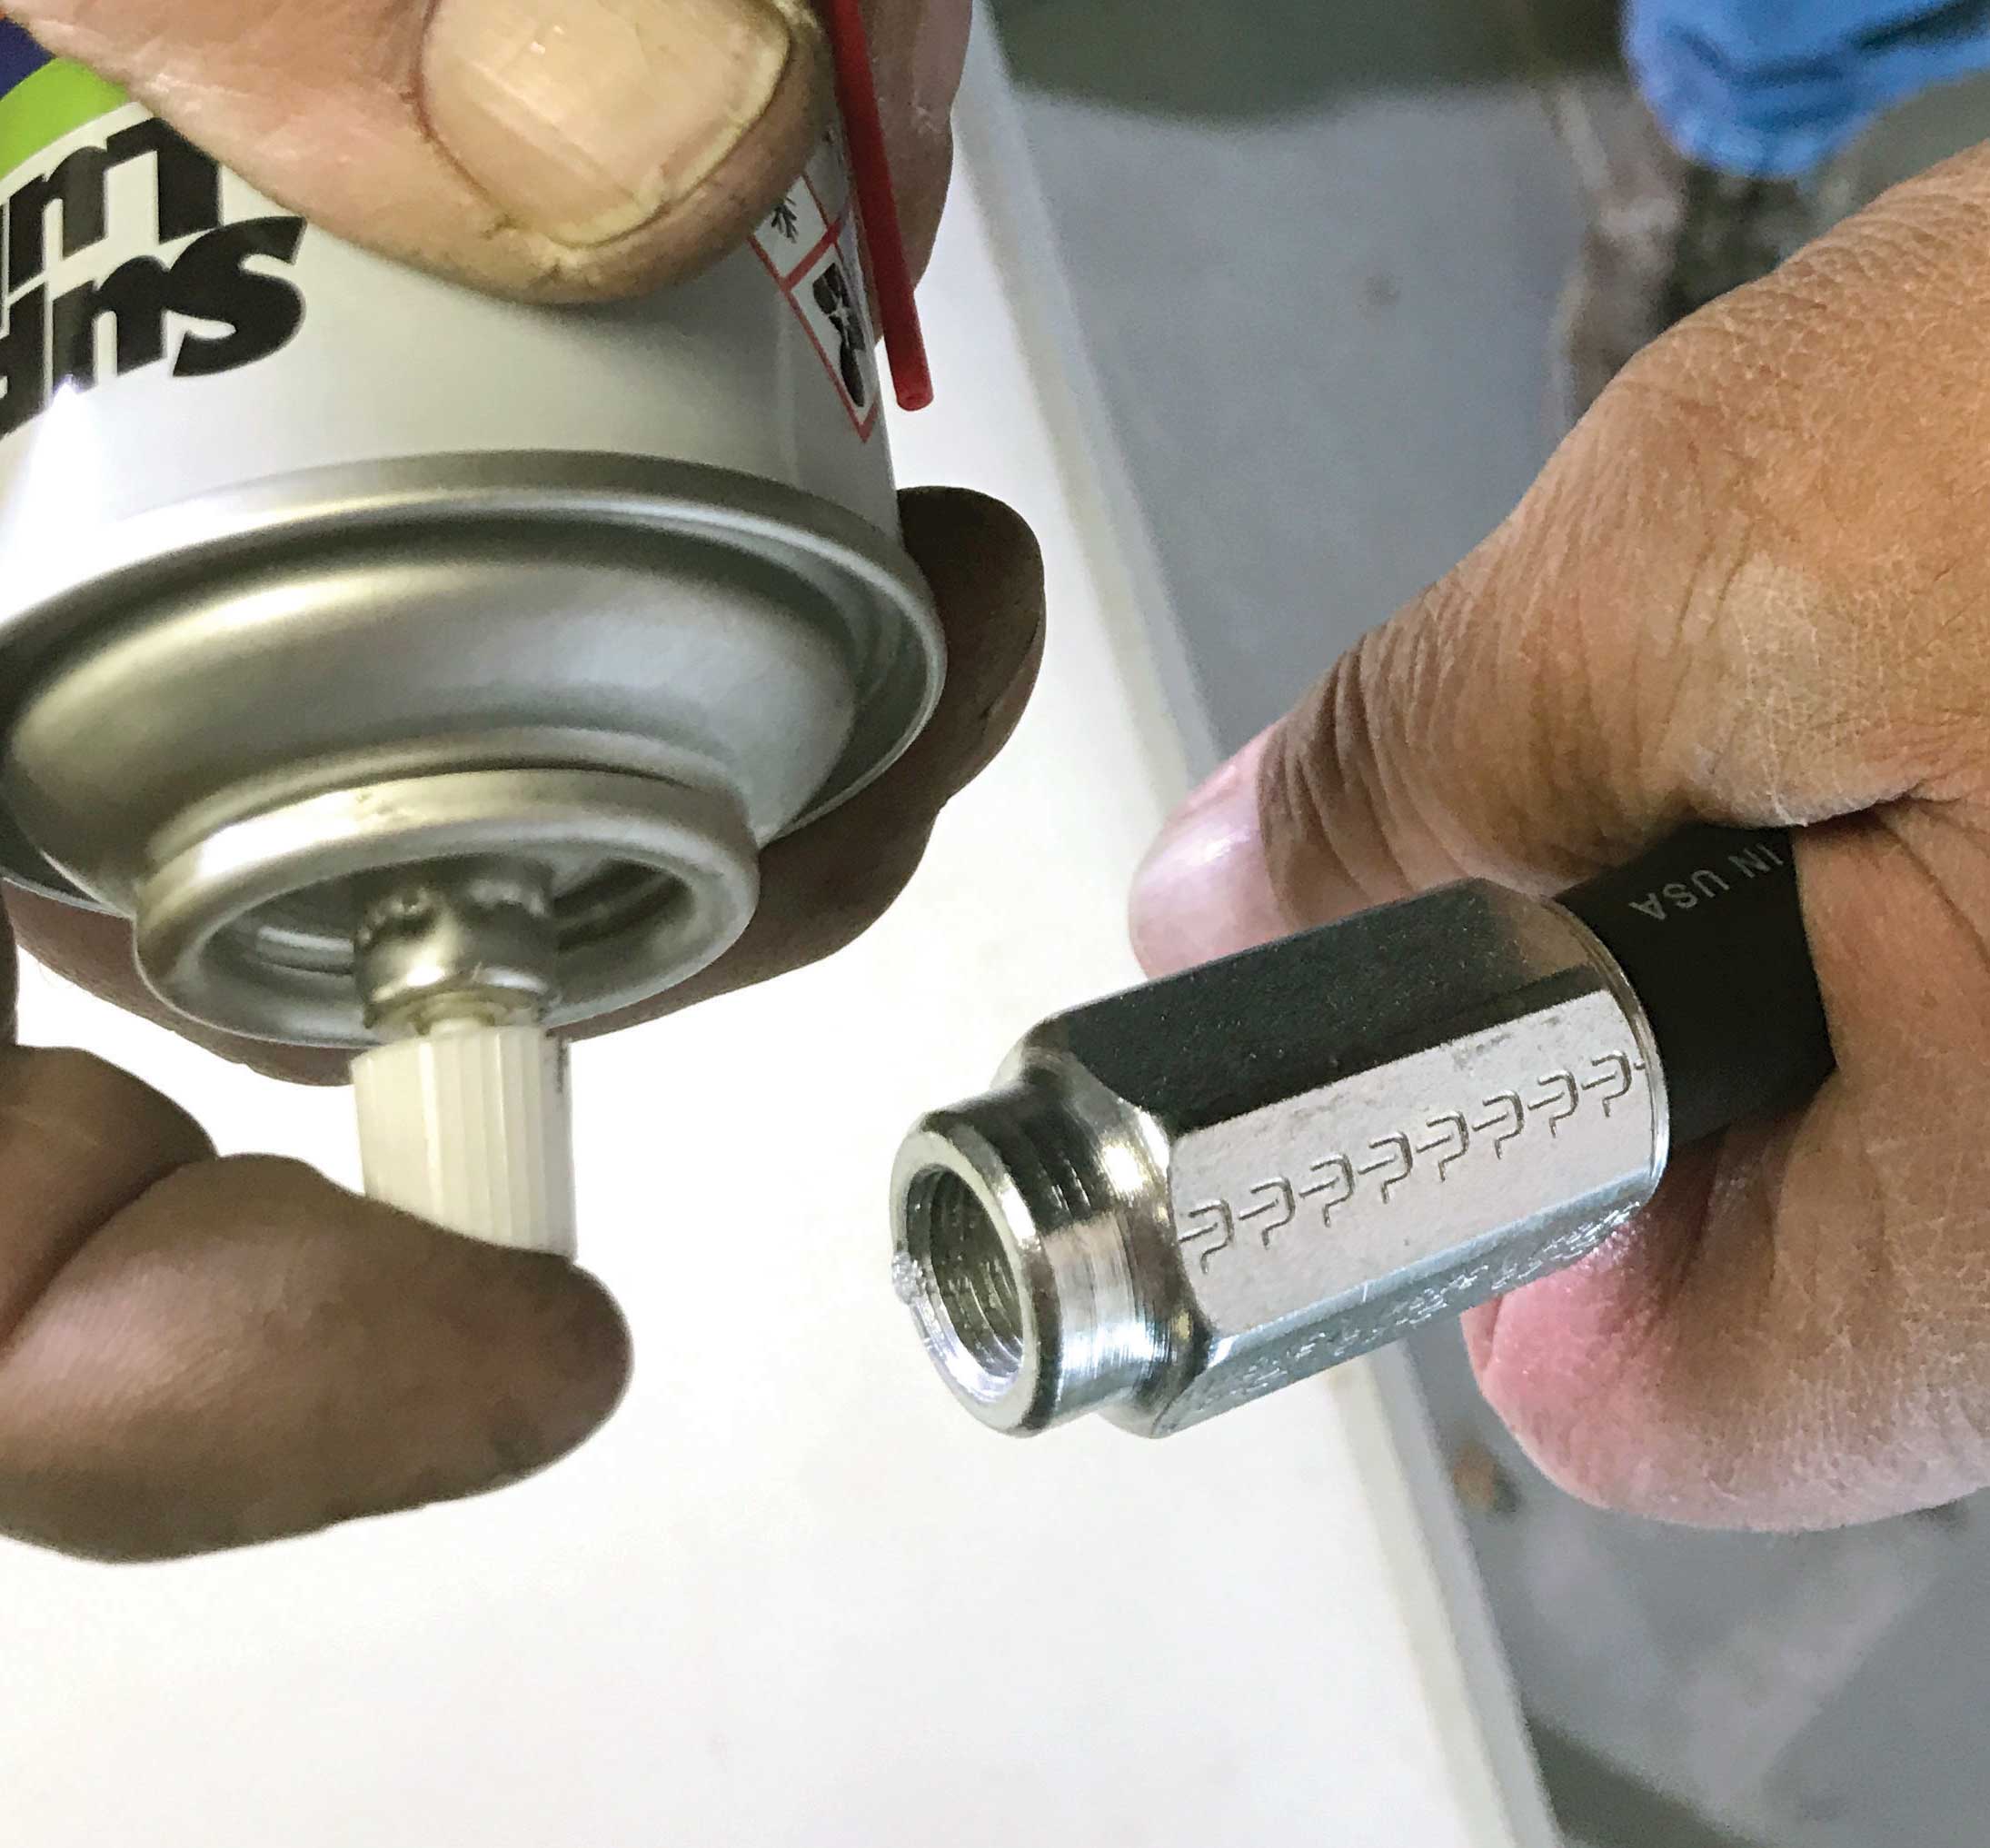
Step 5:
Next, insert the stem and tighten by hand to get it started.
Step 6:
Once you begin with your set of wrenches or vice, it is important to keep turning without stopping. Note: Don’t stop turning once you start or else it will tighten up on you and not go in all-the-way.

Step 7:
Keep turning until the two pieces are tight against each other.


