As credit card use becomes increasingly popular, vending machines that only accept cash are becoming a thing of the past. Luckily, Laurel Metal created the DigiMax circuit board with that trend in mind. This board is by far the easiest way to add a CryptoPay credit card swiper to your electronic vendor. Even if you don’t plan on adding credit card acceptance to your machine, the DigiMax board is great for people who need to replace a failing circuit board or want to upgrade an outdated one. It’s packed with some great upgrades such as increased functionality and a larger LCD display! We carry kits that include everything you need to get this new board installed. In a recent Fix It With Phil video, we had Phil install one of these retrofit kits with CryptoPay so you can see how fast and easy it is!

Turn The Power Off
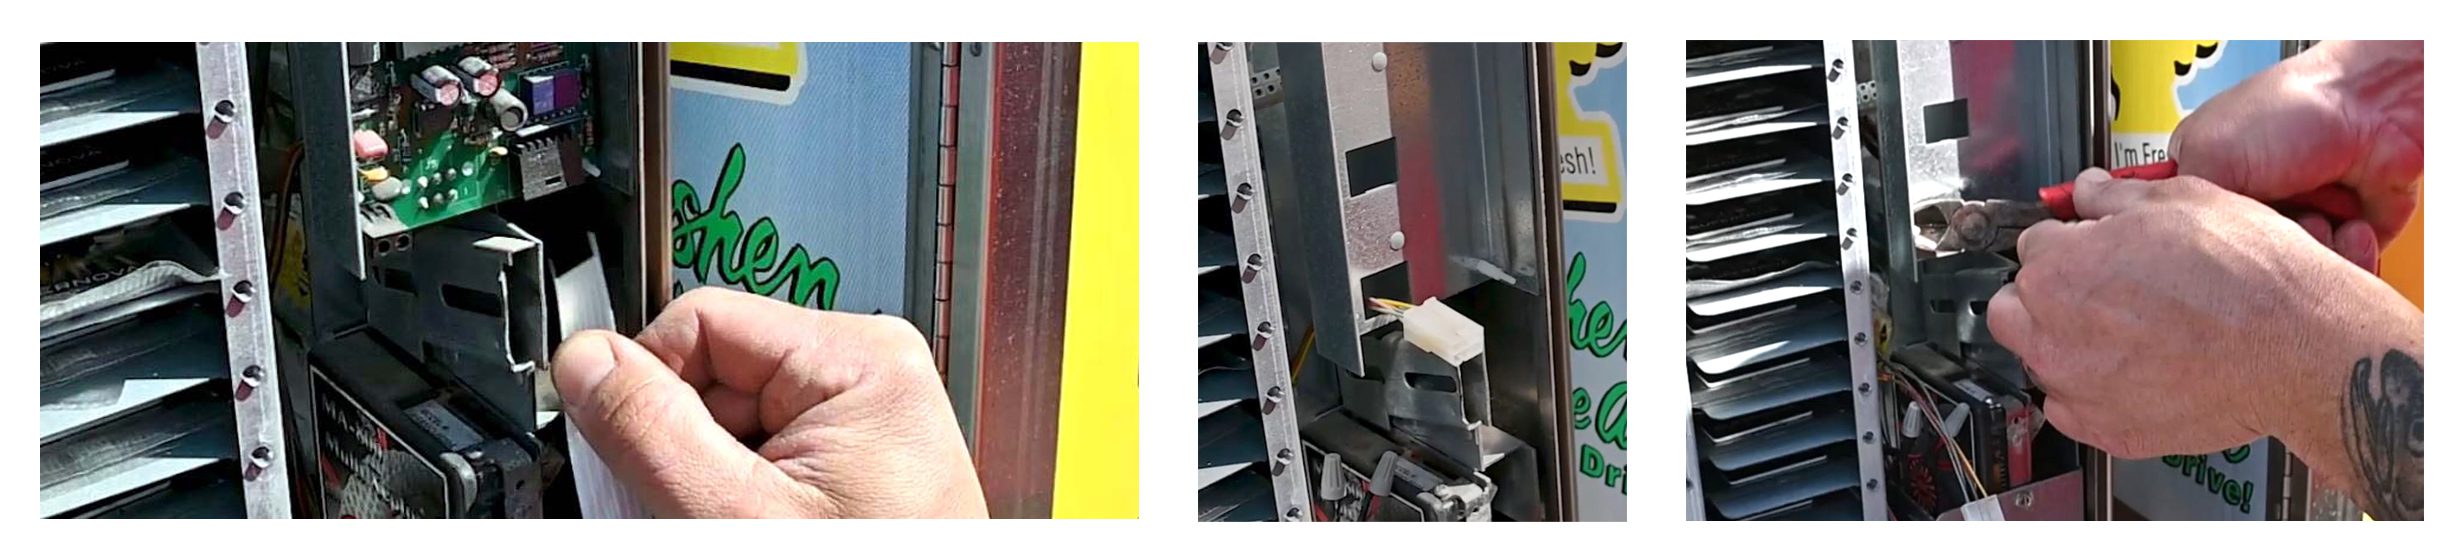
Open the door to access the interior of your vending machine. Then, remove the old instructions so you can see the circuit board. Before you do anything else, turn off the power or detach the positive and the negative connections and place a wire nut on each wire. Once the power is off or disconnected, you can work on the circuit board without shorting something out or getting shocked.
Remove the Old Board
Before you install the new circuit board, the old one needs to be removed. Start by disconnecting the ribbon cable. Pop out the old board and reach behind the board to remove the plugs on the back before taking the board out completely. Cut off the remaining standoffs using side cutters. They are not compatible with the new board, so there is no need to save them.
Installing the New DigiMax Board
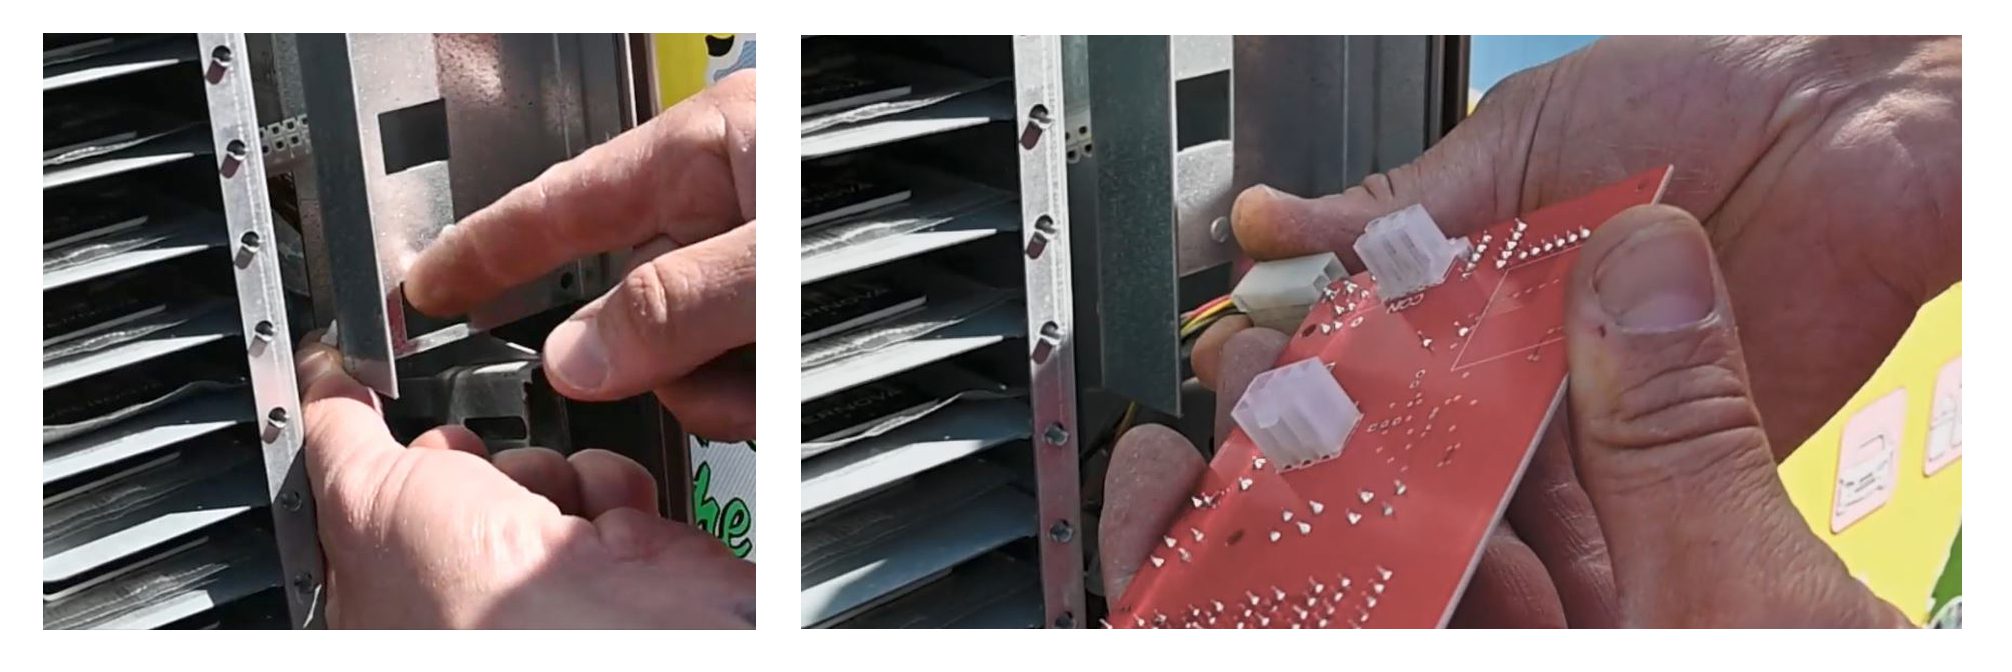
Place the new standoffs in the slots where the original ones were located. Reach behind the frame to push in the standoffs. You will notice a click which means they are locked in place. Now, the machine is ready to accept the new DigiMax board. Make sure to orient the plugs properly. They will only fit the board one way, so its pretty hard to mess this step up. Push the circuit board onto the standoffs and connect the ribbon cable. Next you will need to install the new door that comes with the kit.
Removing the Old Door
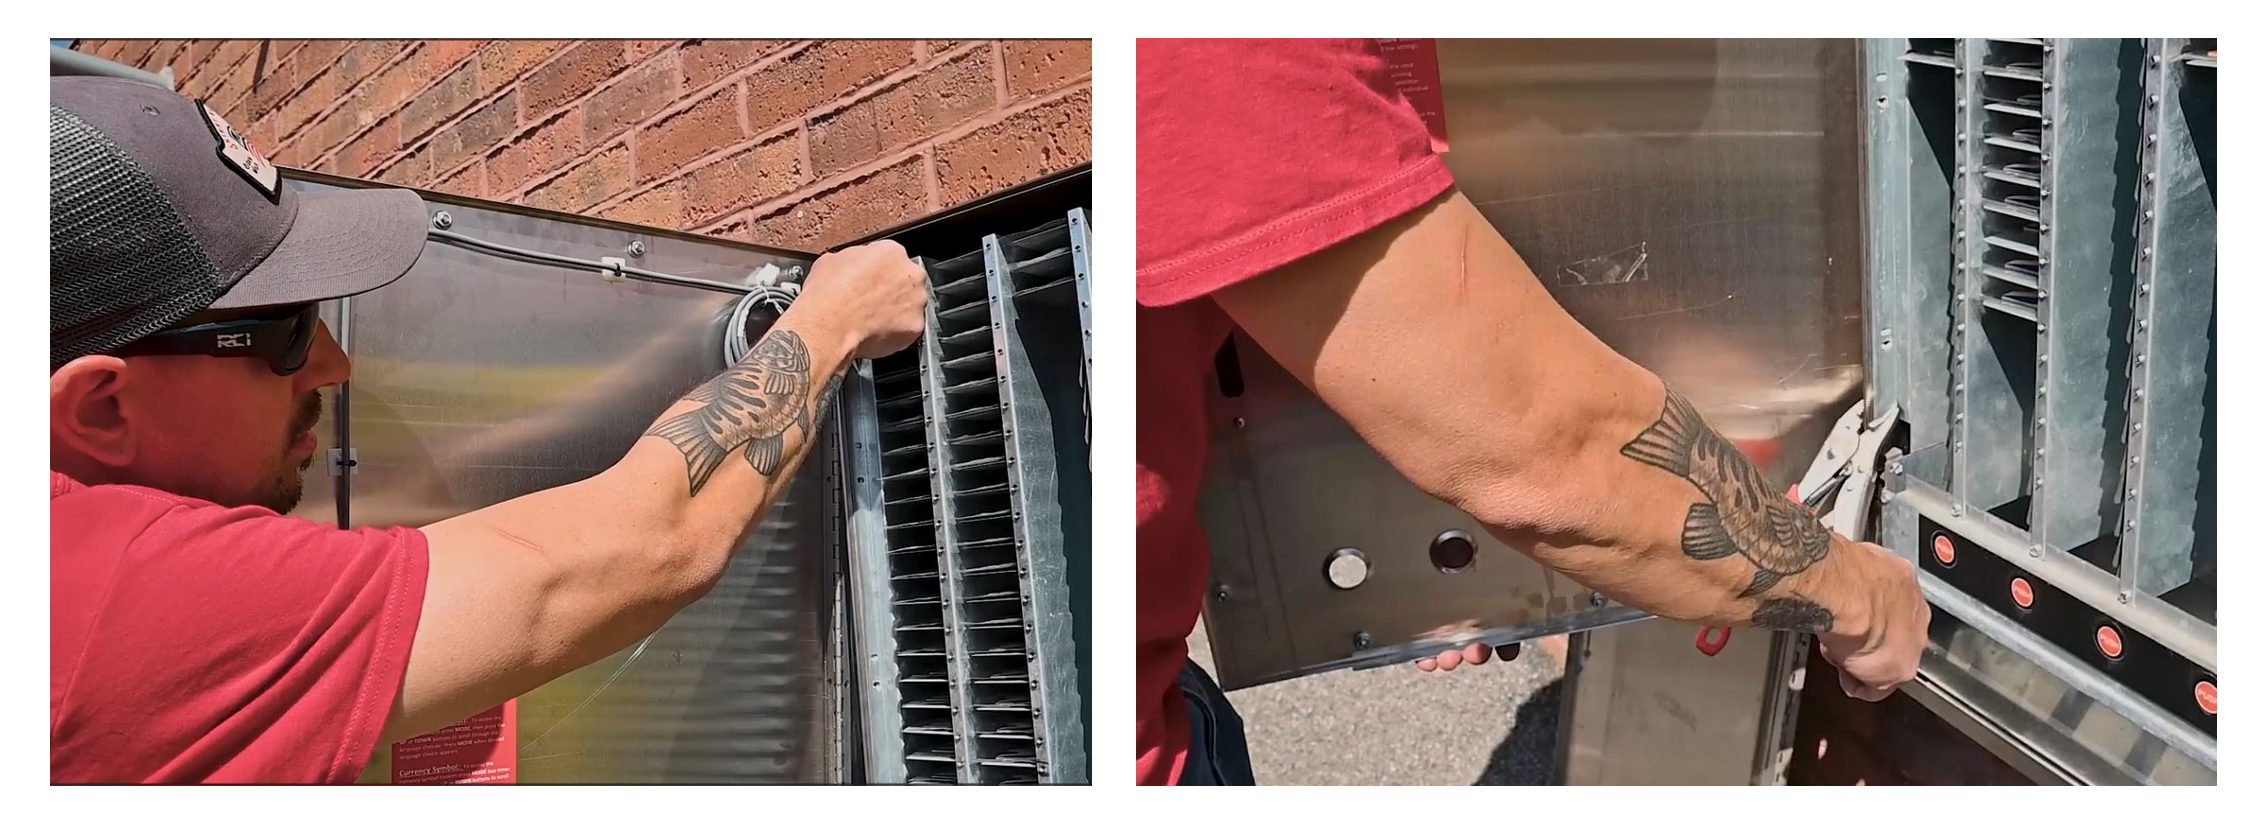
Prep the door by removing all the bolts except for the top one. This will help you remove the door by yourself. Rest the door against your body and hold the bottom with one hand. Take the top nut off and pull to remove the door.
Once the door is off, the directional plate will not be held in by anything and can potentially fall out. Place a vice grip at the bottom to hold it in place. Make sure the holes are lined up. This will make things easier later.

Installing the New Door
First, slide a new bolt into the top slot of the new door. Match the top bolt with the hole at the top of the hinge on the vendor and support the door with your leg. Get the first bolt started with your free hand. Once the first bolt is inserted, the directional plate is held in place again and you can remove the vice grip. Then install the bolt at the bottom and continue until each hole is filled and the door is secure.
Hooking Up CryptoPay
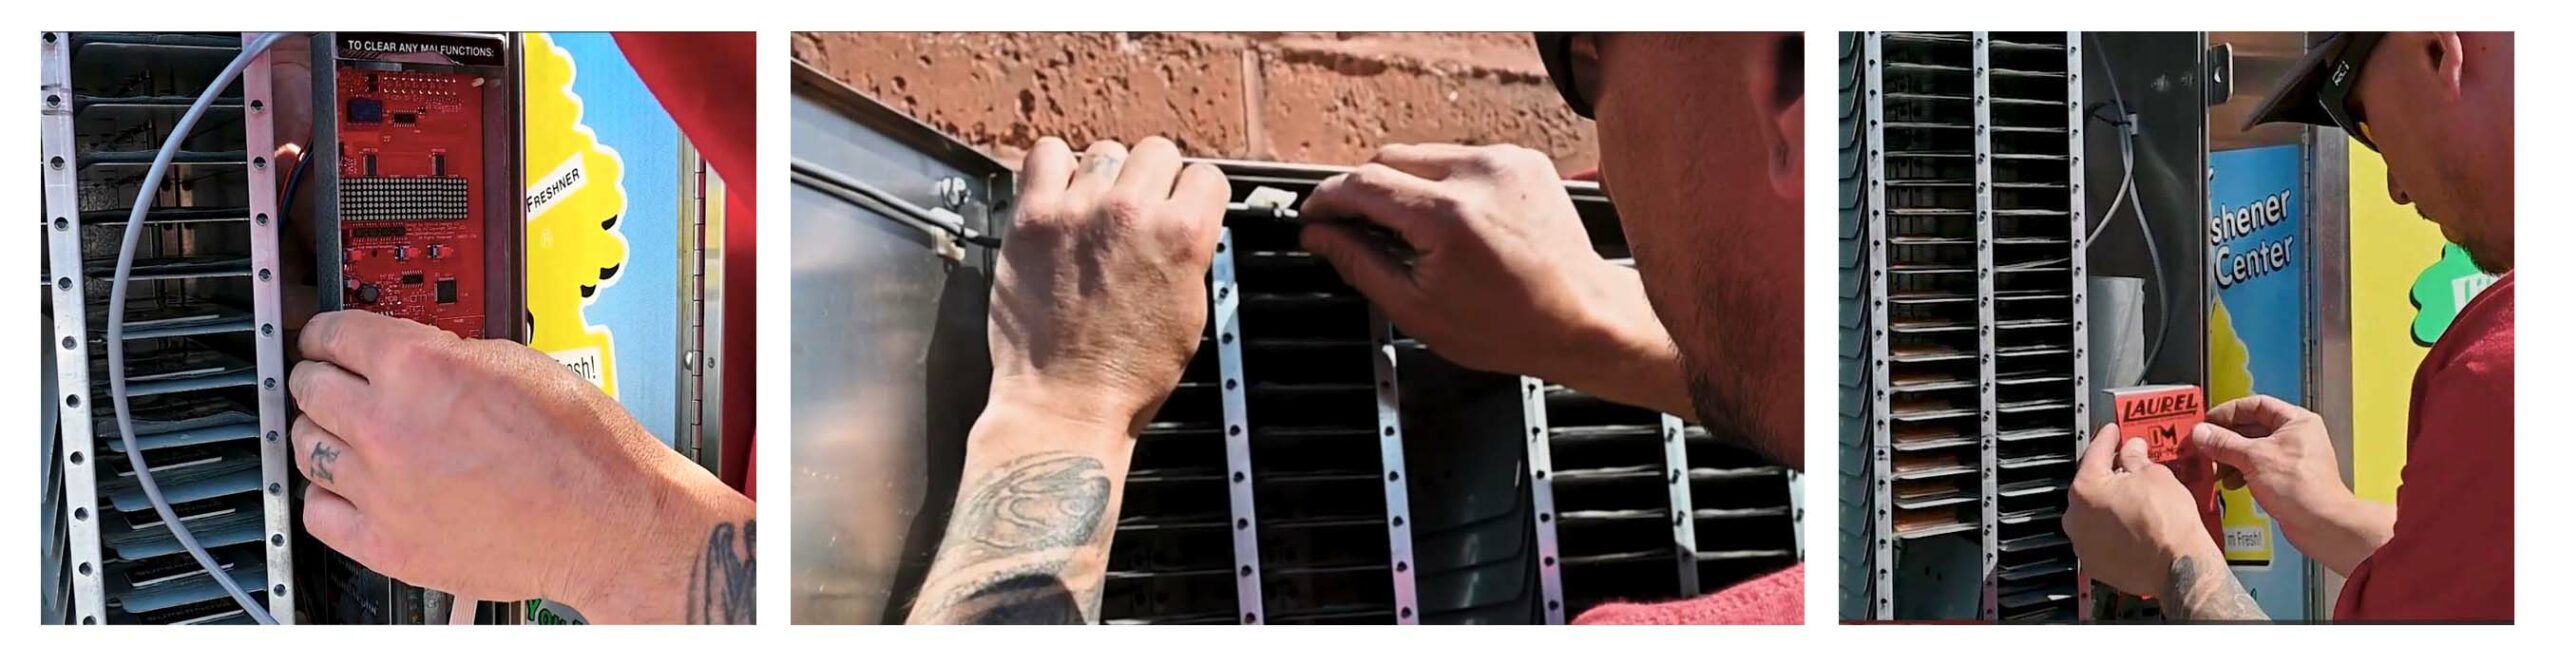
There is a cord on the door. Plug it into the new board you just installed. Then use the zip ties and stick backs to hold the cord in place at the top of the machine. This keeps the wire out of the way, which prevents the vending machine from malfunctioning when a shelf drops.
After that, hook up the power. If you used a wire nut for both wires, hook up the negative to the DigiMax board first. Then do the same with the positive wire. The display should light up once both wires are reattached or power is turned back on.
Last, the protection film and programming directions will need stuck to the board. Make sure the window is lined up with the display so it is visible to customers.
Once the new DigiMax board, door, and CryptoPay Swiper are installed, your vending machine is now ready to accept credit cards to make it easy for customers to make payments at your wash!

About the Author
Phil Donnelly, aka Fix-It Phil
Kleen-Rite Equipment Engineer, Production Manager, Car Wash Operator
Best known for his “Fix-It Phil” persona on Kleen-Rite’s YouTube channel and podcast Kleen-Rite Radio, Phil Donnelly has become a trusted source of technical expertise for car wash owners, operators, and technicians. Beyond his on-screen guidance, Phil was the driving force behind the Operator Pro Plus pump stand, leading its design, testing, and production to create a highly effective solution for self-serve car washes. He also serves as the lead engineer and production manager for KR Equipment, our reliable line of car wash equipment designed and produced in-house specifically for the self-serve segment of the industry.
Before joining Kleen-Rite, Phil spent over 14 years servicing industrial boilers at Delval Equipment. This experience provided a strong technical foundation, enabling him to quickly master the equipment used in car washes due to the similarity of the required skills and knowledge. Phil attended Thaddeus Stevens College of Technology and graduated from the HVAC-R program with an Associate Degree.