
At times, a Roberts float valve will begin to leak or not shut off completely. If you come in in the morning and your tank is overflowing, that is a good determination that your float valve is leaking and will need repaired right away. Seeing as the repair job for one of these is so easy and inexpensive, this is one of those times that Tom recommends repairing the damaged valve rather than replacing it entirely.
How to Repair a Roberts Float Valve
What You Will Need:
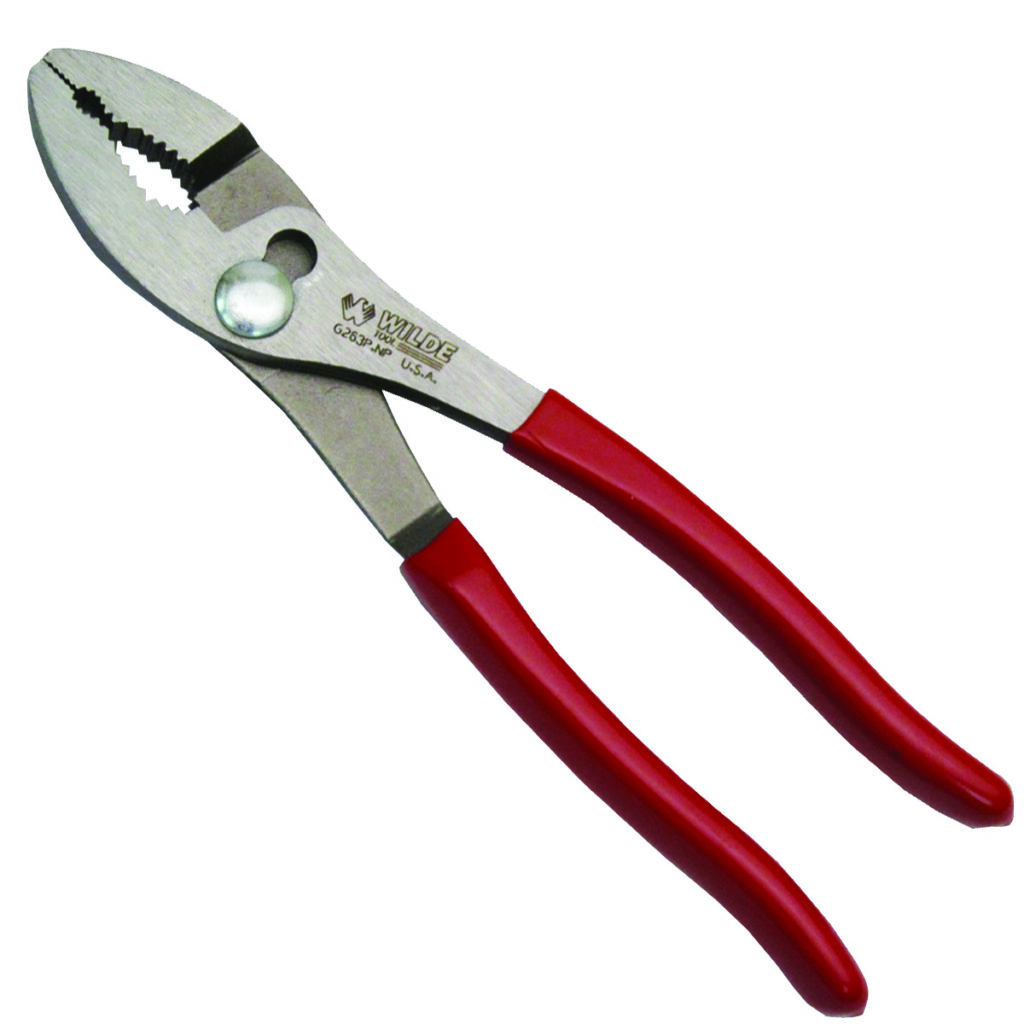
- A pair of pliers
- Choose one of these products: A Disc and Cup Kit (Kleen-Rite #FVRKB130V) if you only need to replace those parts or a Plunger Kit (Kleen-Rite #FVRKB230) for full plunger repair
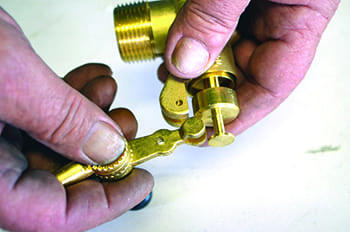
Step 1:
First thing you’ll need to do is flatten out and remove the cotter pin.

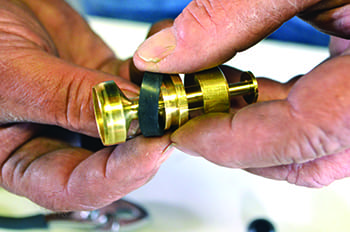
Step 2:
Once the cotter pin is removed, that will release the arm and the plunger assembly for removal.
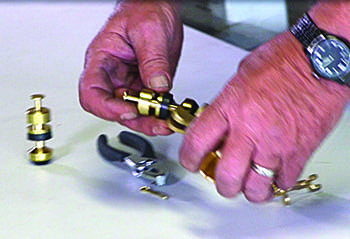
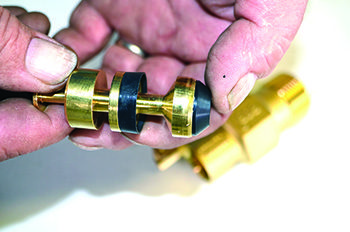
Step 3:
If your plan is to replace the entire plunger assembly, just take the new one and slide it. Put the arm back in place and reattach the cotter pin.
Step 4:
For those who are planning on just replacing the seals and plunger seat, first you’ll have to remove the plunger. Simply pop it out with your fingernail, screwdriver, or a pocket knife.
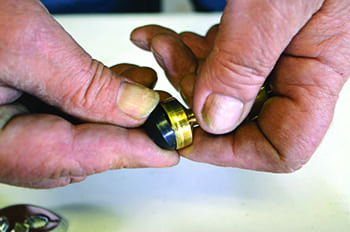
Step 5:
Next, remove the seal by simply peeling it off and replacing it with a new one.
Step 6:
Then install the new plunger seat. Make sure it is fully installed and sitting flush and even against all sides.
Reassemble your float valve. All these kits come with new cotter pins. Do yourself a favor and don’t try and reuse the old one. You’ll be better off using the new cotter pins.
